Automating Hugo Deployment with AWS
Previously, I deployed manually, but I decided to streamline the process by using AWS services to enable automatic deployment with a git push.
This post documents the setup for CodeBuild and CodePipeline.
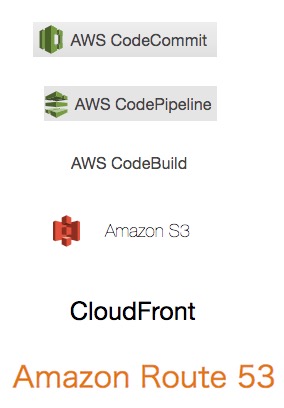
Tools Used
- CodeCommit (Source control service)
- CodeBuild (Fully managed build service)
- CodePipeline (Continuous delivery and release automation)
Setting Up CodeBuild
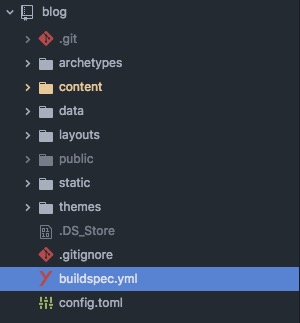
First, create a buildspec.yml file in the root directory.
Here is my configuration. I considered clearing the CloudFront cache but decided against it due to the associated costs.
The operating system is Ubuntu.
version: 0.2

env:
  variables:
    LC_CTYPE: "C.UTF-8"
    hugo_version : "0.36.1"
    bucket_name: "shou2017.com"

phases:
    install:
        commands:
            - pip install awscli --upgrade --user
            - wget https://github.com/gohugoio/hugo/releases/download/v${hugo_version}/hugo_${hugo_version}_Linux-64bit.deb
            - dpkg -i hugo_${hugo_version}_Linux-64bit.deb
    build:
        commands:
            - hugo
    post_build:
       commands:
            - echo "S3 Upload Beginning"
            - aws s3 sync --delete ./public s3://${bucket_name}
            - echo "S3 Upload Complete"
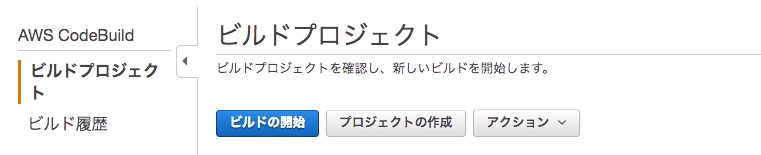
From the AWS Console, navigate to CodeBuild and select “Create Project.”
Configure the project as shown below:
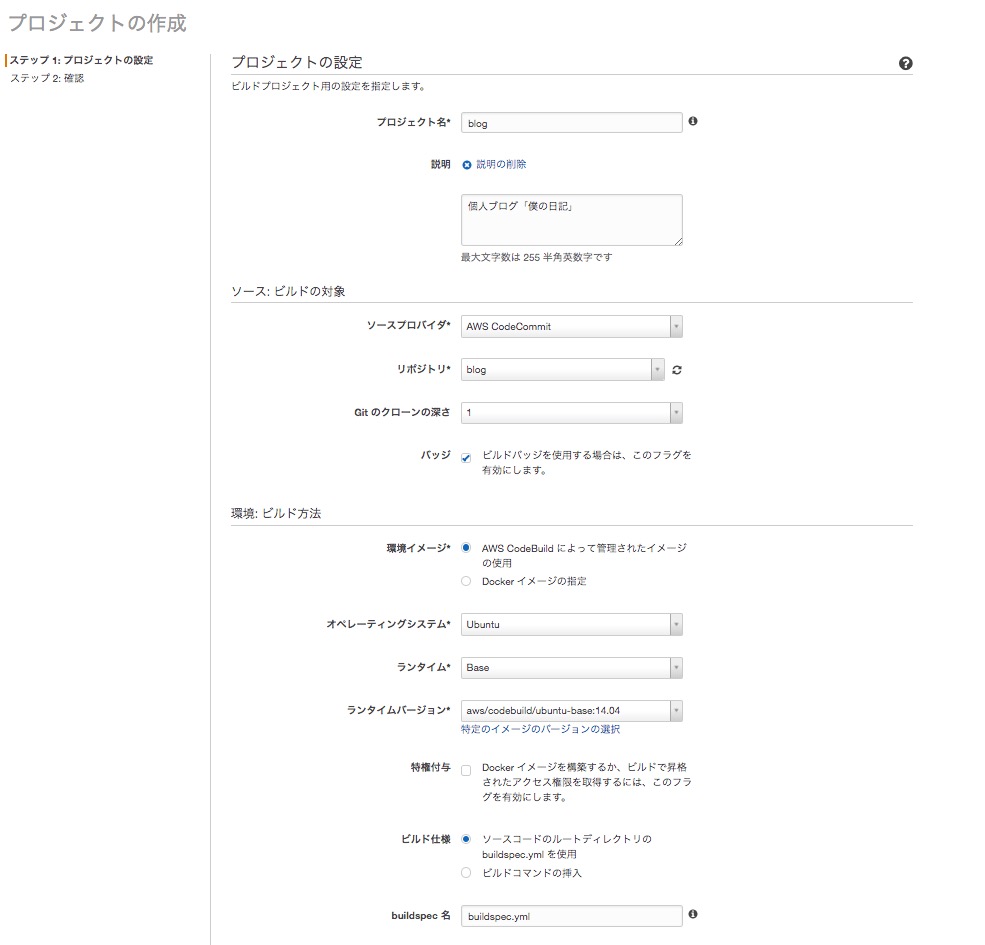
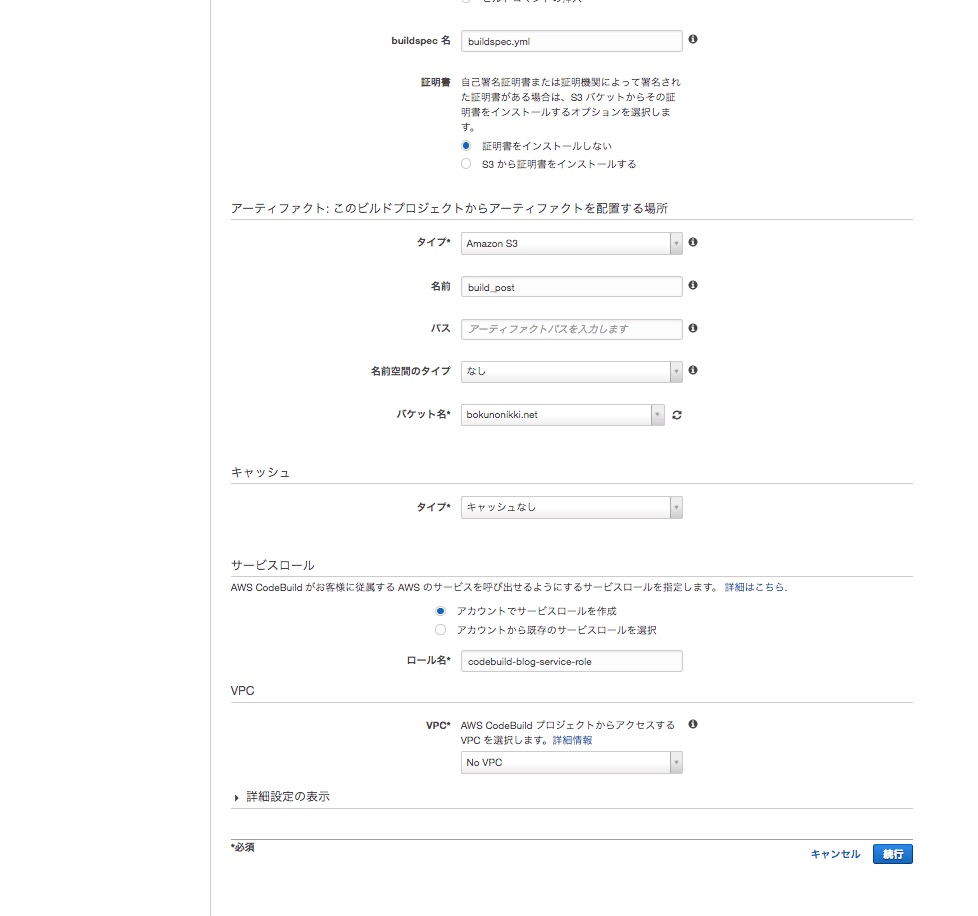
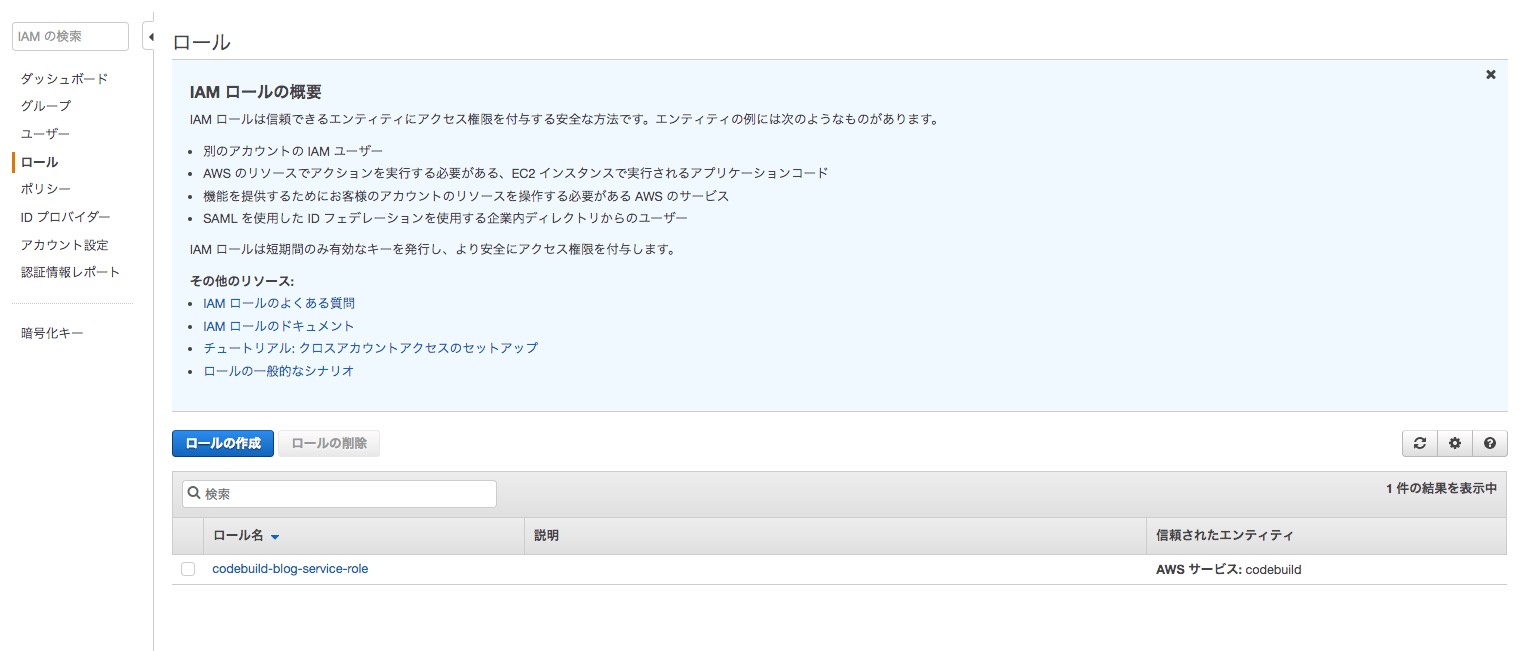
Since the build involves S3, ensure that CodeBuild has access to S3 by attaching the AmazonS3FullAccess policy to the codebuild-blog-service-role.
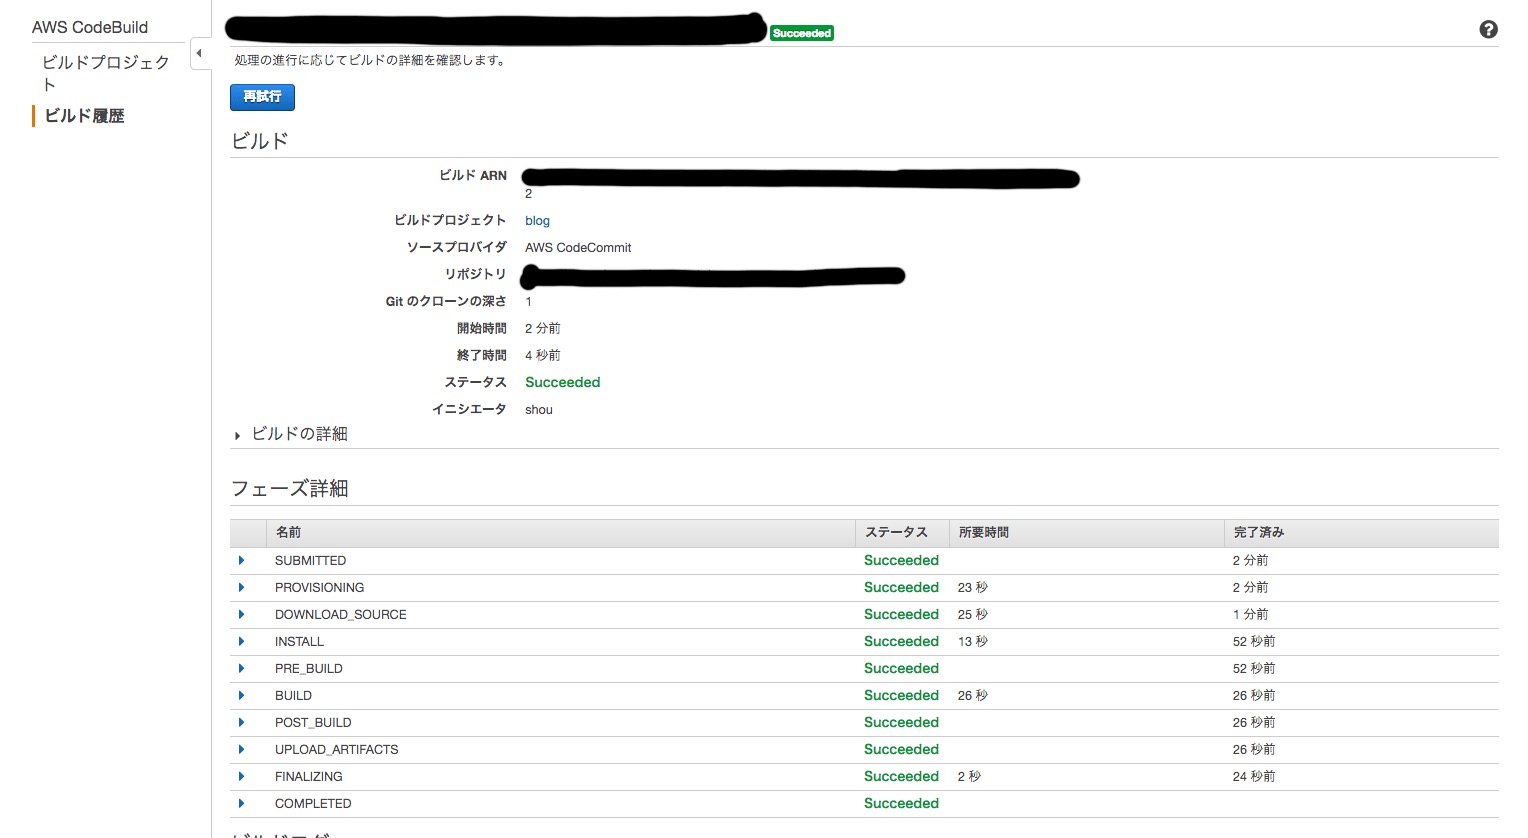
Return to CodeBuild and start the build. It should succeed.
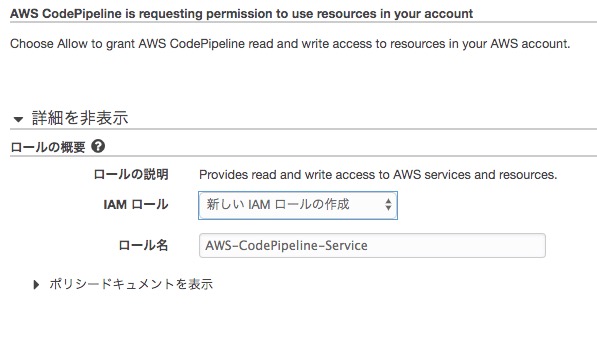
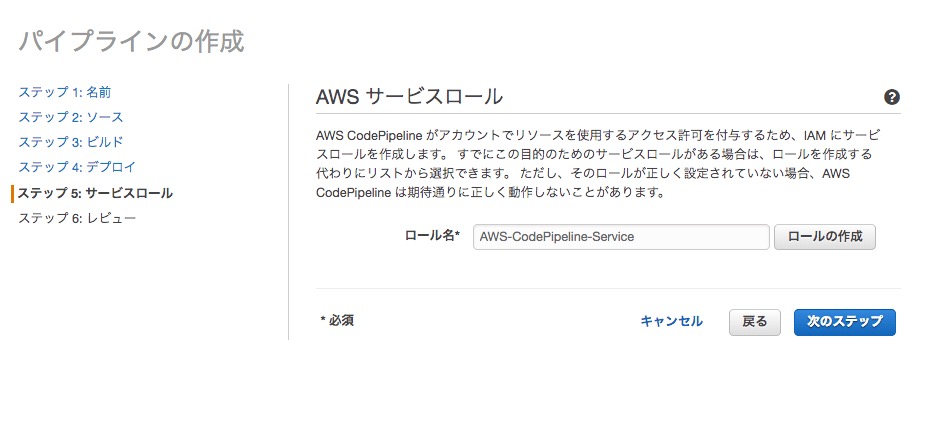
Setting Up CodePipeline
Next, configure CodePipeline.
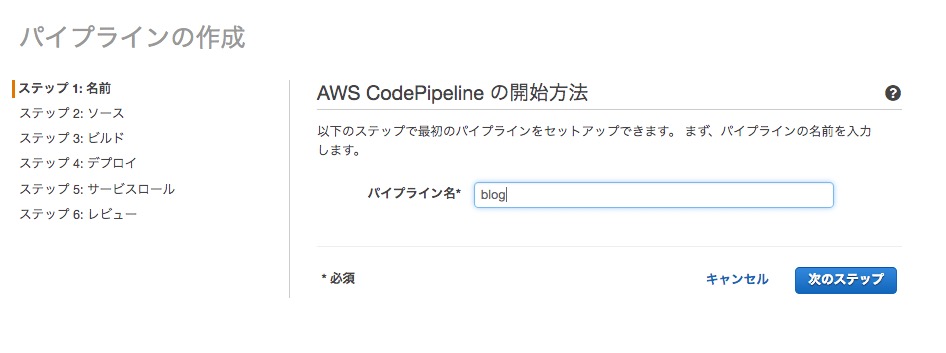
From the AWS Console, navigate to CodePipeline and select “Create Pipeline.” Configure it as shown below:
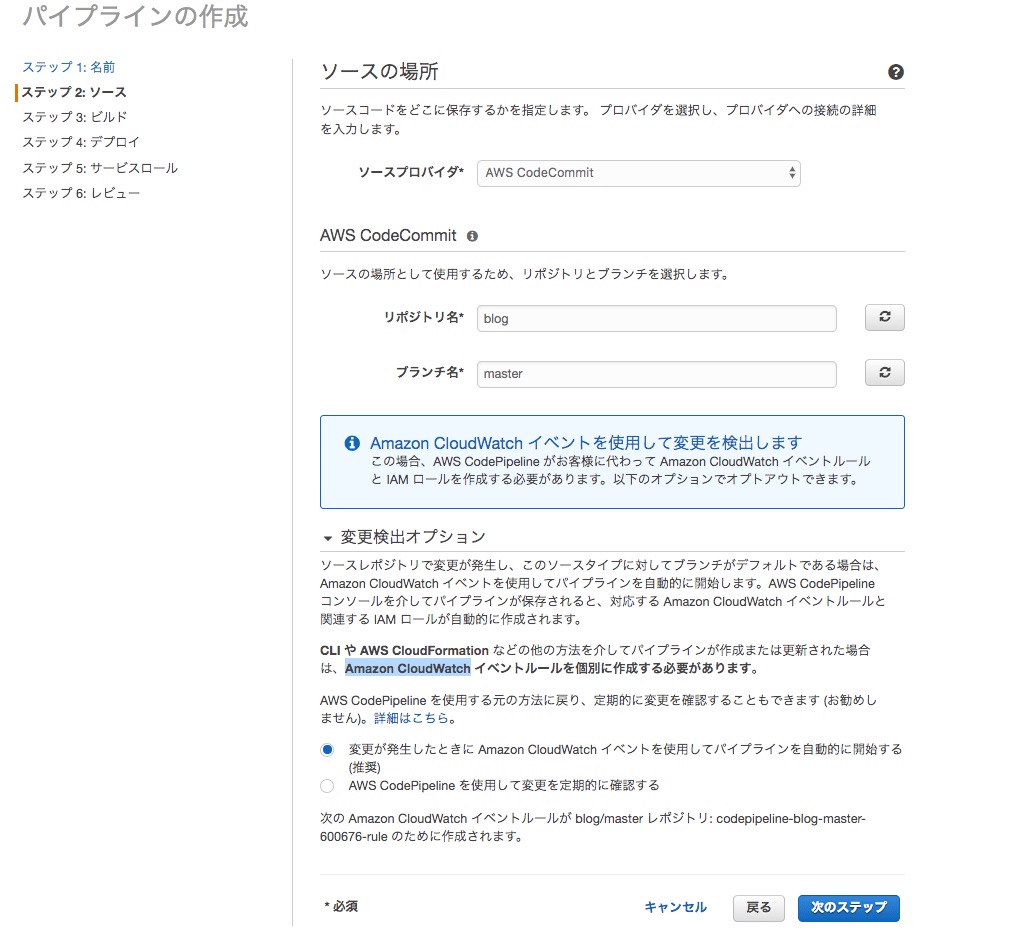
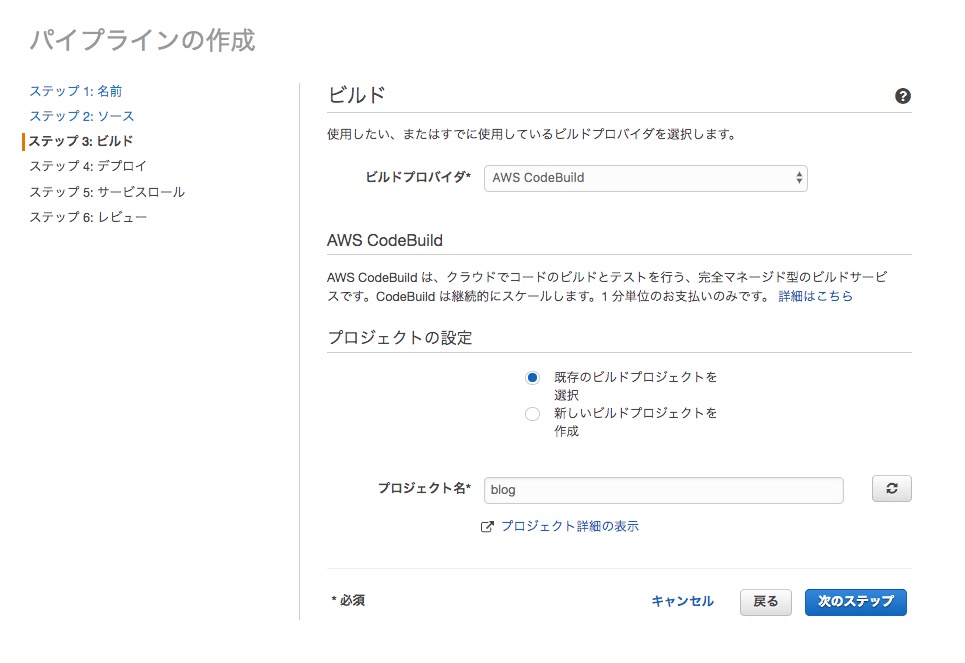
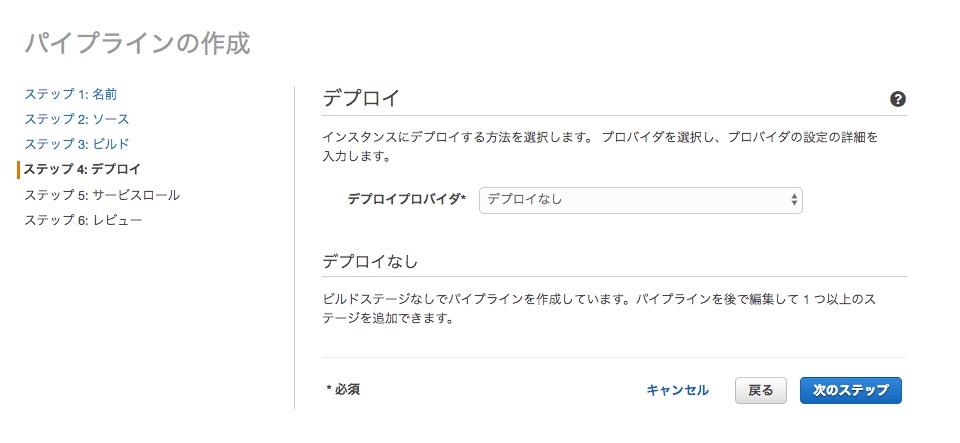
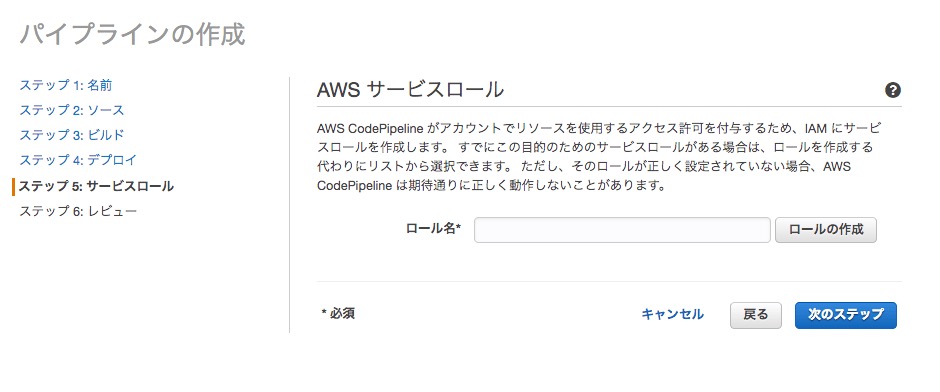
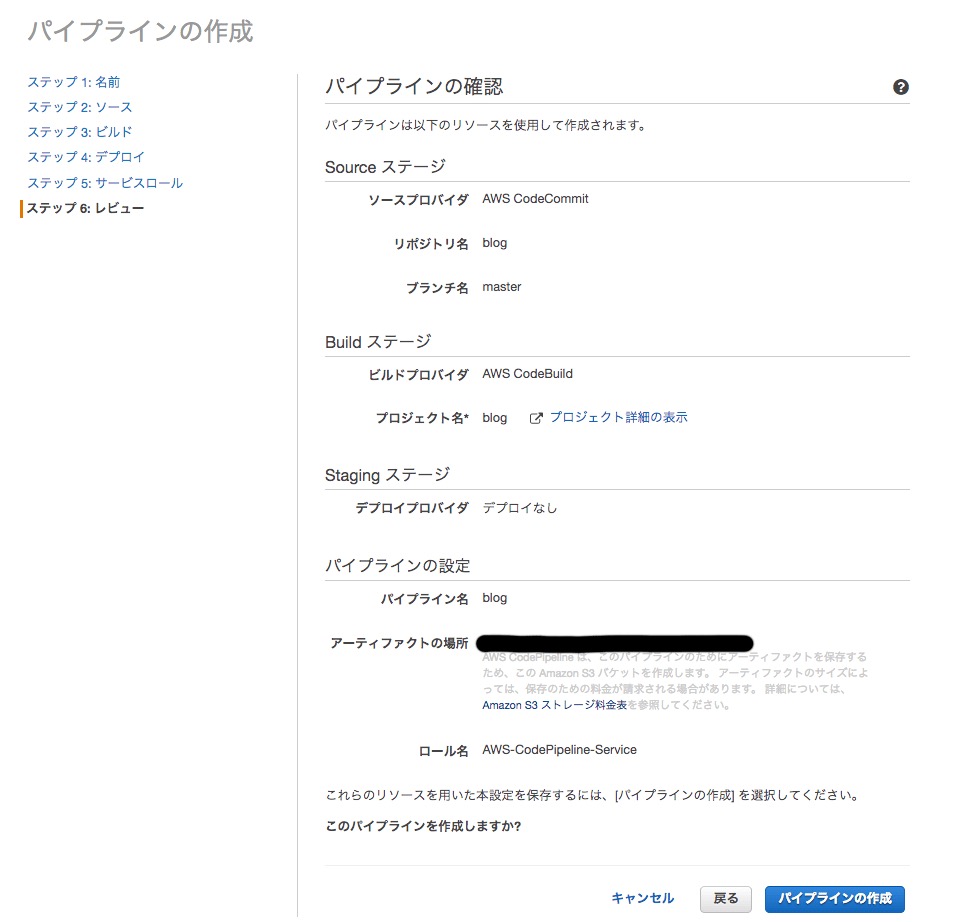

Now, pushing to CodeCommit will trigger automatic deployment.
For personal blogs, this setup should fall within AWS’s free tier. Even if it incurs costs, they should be minimal, making Hugo a cost-effective option for media operations. Plus, it allows you to teach others about Git.
Managing with Git seems more efficient than using WordPress.