Automatically Compress and Save Images to a Desired Location on Mac
Previously, I used an app to compress PNG images for this blog. However, I found it tedious to manually specify the save location after compression. To streamline this process, I decided to automate it. Apps typically allow only one save location.
The tools used are:
Installing pngquant
To compress PNG images, we use pngquant.
Install it using Homebrew:
$ brew install pngquant
If you’re unfamiliar with installing Homebrew, refer to this guide.
Setting Up Automator to Automatically Compress Images in a Specified Folder
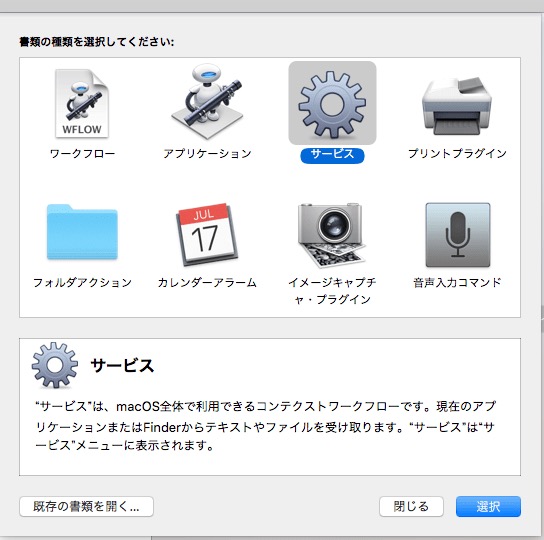
Select the Automator service.
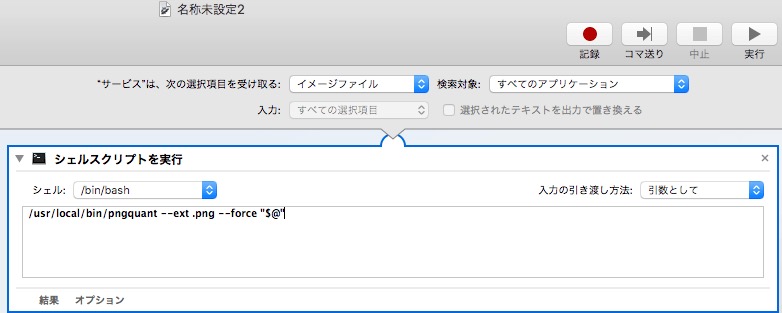
Set “Service receives selected” to “image files” and “in” to “any application.”

Choose “Run Shell Script,” set the shell to /bin/bash, and pass input as “arguments.”
Use the following command options:
/usr/local/bin/pngquant --ext .png --force "$@"
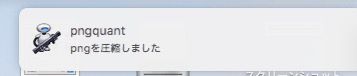
This completes the image compression setup. Additionally, configure notifications by searching for “Show Notification” in the search box. This will notify you when the image is compressed.
Save the setup.
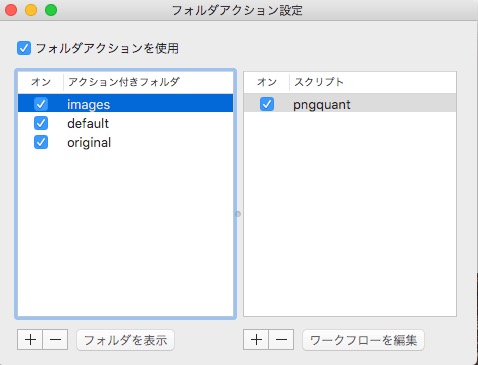
Configuring Folder Actions
The Automator file saved earlier doesn’t allow you to choose a save location. By default, it’s saved in the Library’s Services. You can access the Library by holding the Option key while selecting “Go” in Finder.
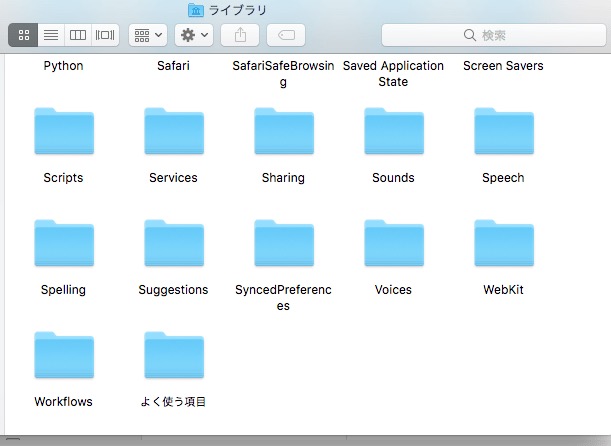
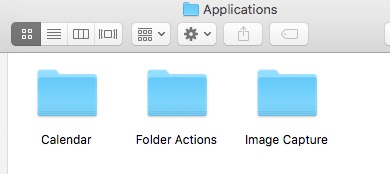
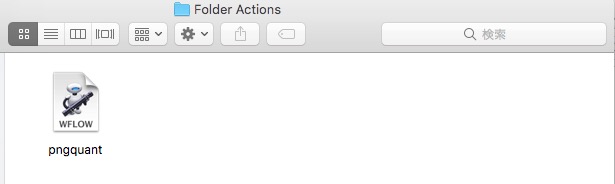
To set up folder actions, move the Automator service created earlier to Folder Actions in the Library’s Workflows.
Right-click the folder, select “Services,” and choose “Folder Actions Setup…” Select the Automator service created earlier.
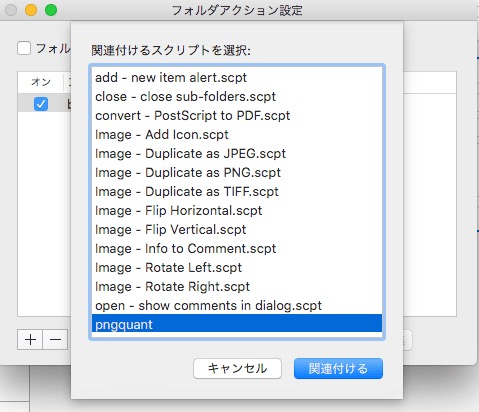
After setup, it should look like this:
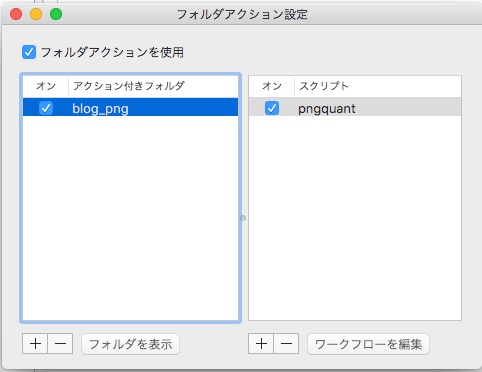
Test by moving an image to the folder. It works perfectly.
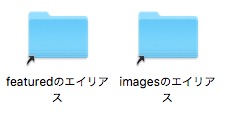
Creating Aliases to Simplify the Compression and Save Process
Create aliases by right-clicking the folder. Note that folder actions cannot be set from alias folders, so set them from the original folder.
I have separate folders for blog images and thumbnails, configured as follows: