How to Create Vertical Text in FinalCutPro and Motion5
Basic Steps
- Create a vertical text template in Motion5
- Apply it to FinalCutPro
Starting with Motion5
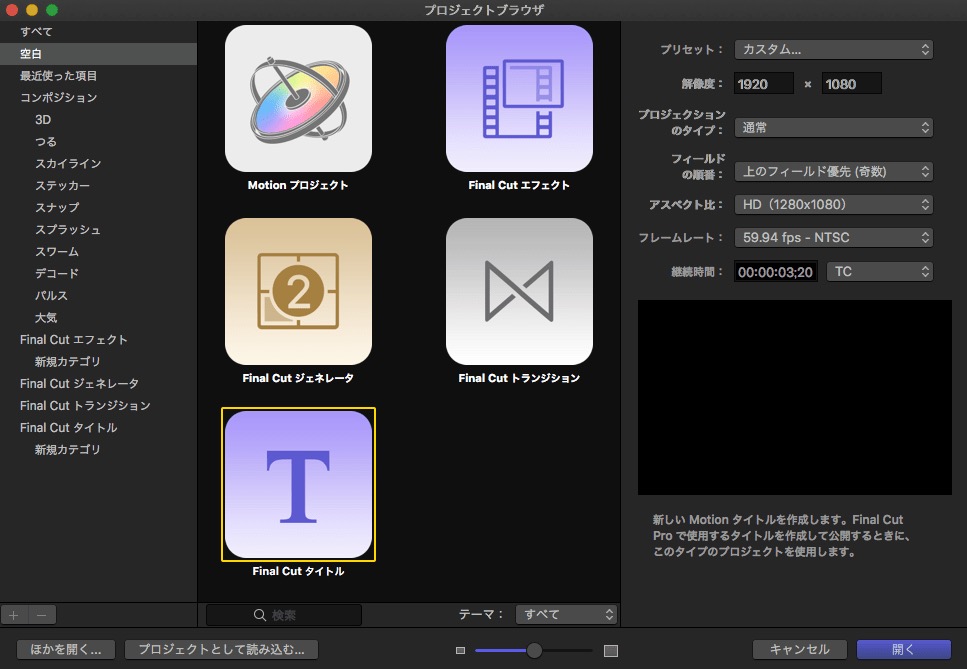
First, launch Motion5. For a new project, select Final Cut Title.
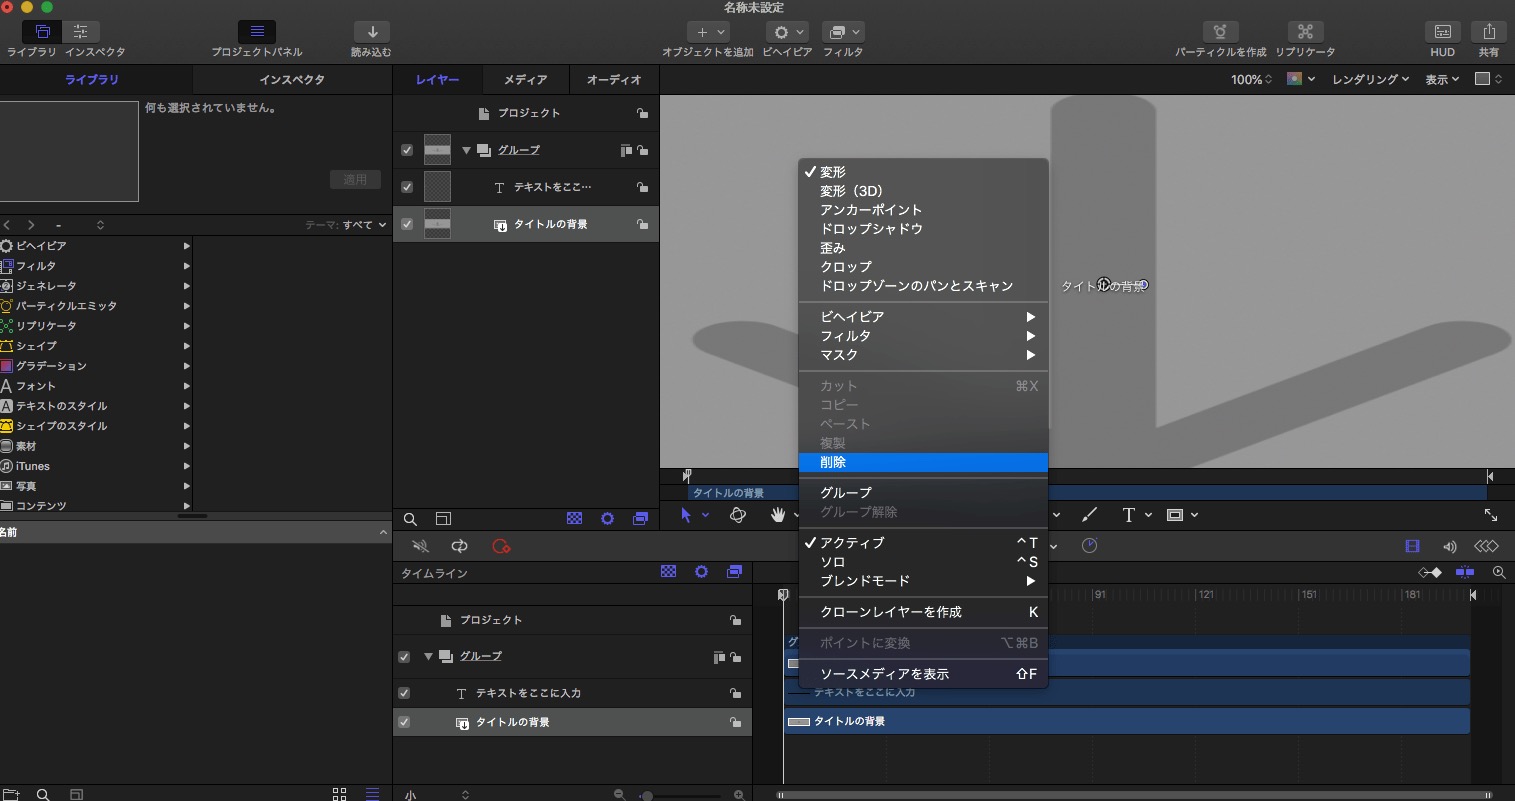
We don’t need the title background, so delete it. You can do this with a right-click.
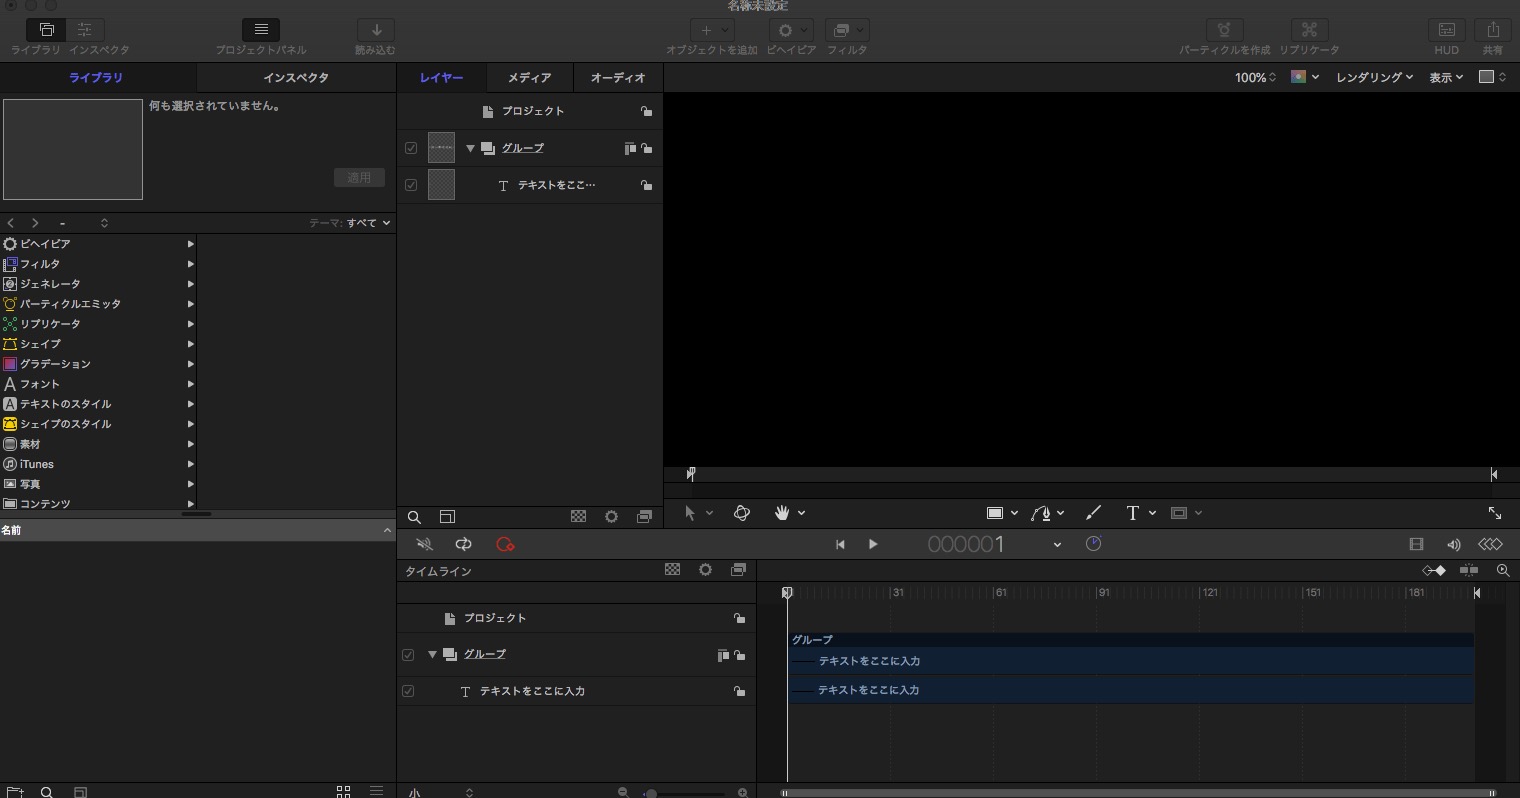
After deletion, it should look completely black like this.
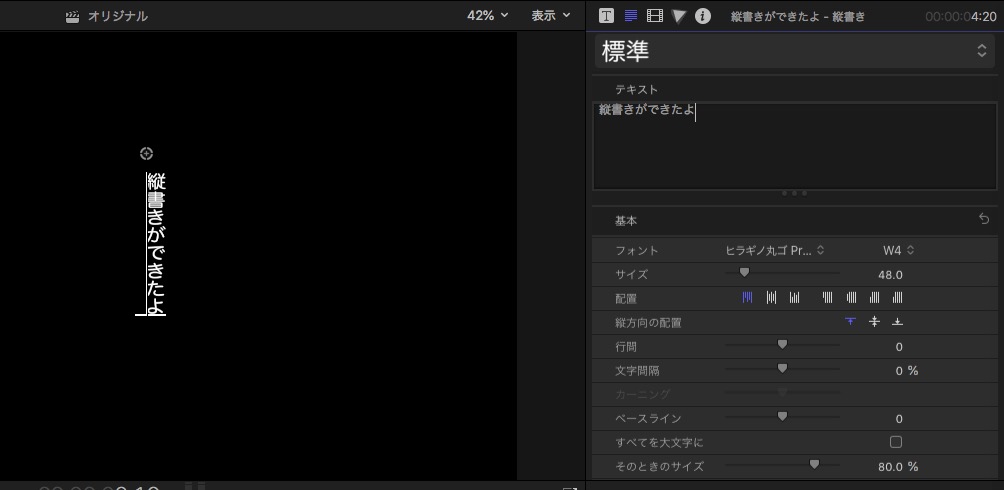
Next, select the text and open the Inspector.
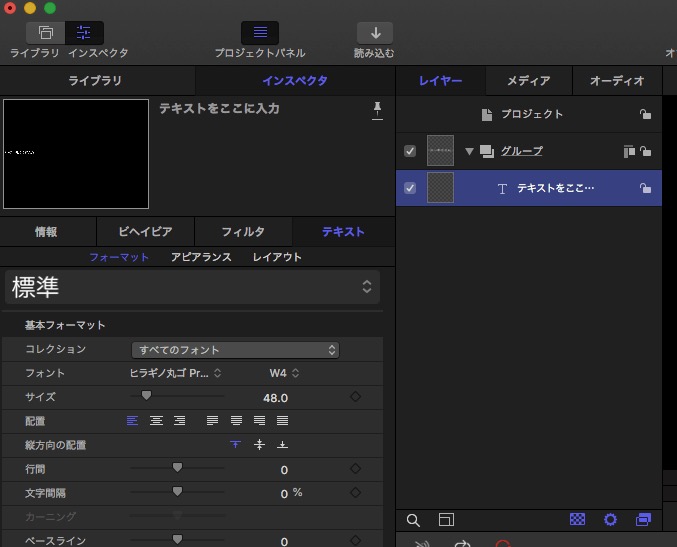
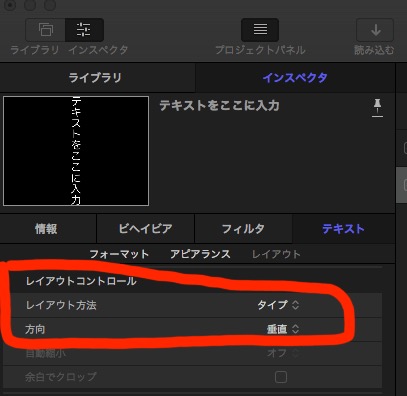
Go to Inspector → Text → Layout → Layout Controls
Set Layout Method to “Type”
Change the Direction to “Vertical”
When you change to vertical writing, the text may disappear from view, so adjust the display size to 50%.
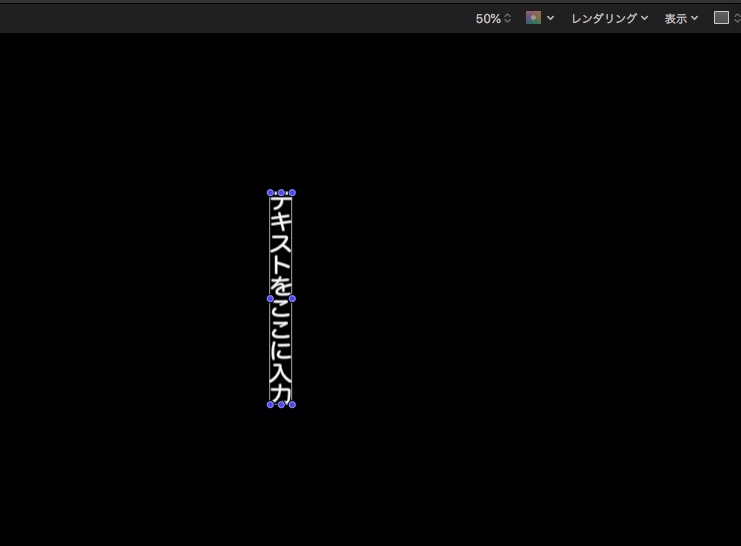
After doing this, you should see the vertical text displayed as shown below.
At this point, it’s difficult to move the text around, so we’ll change the anchor point.
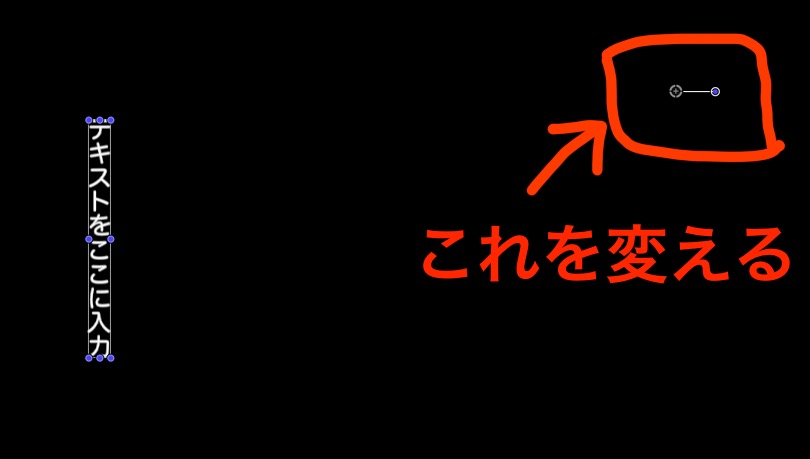
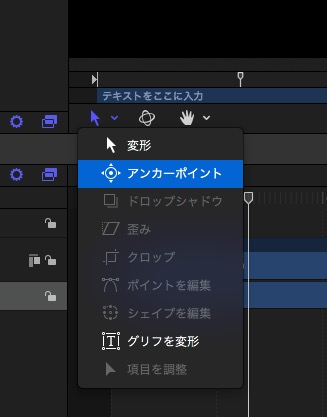
Select the anchor point.
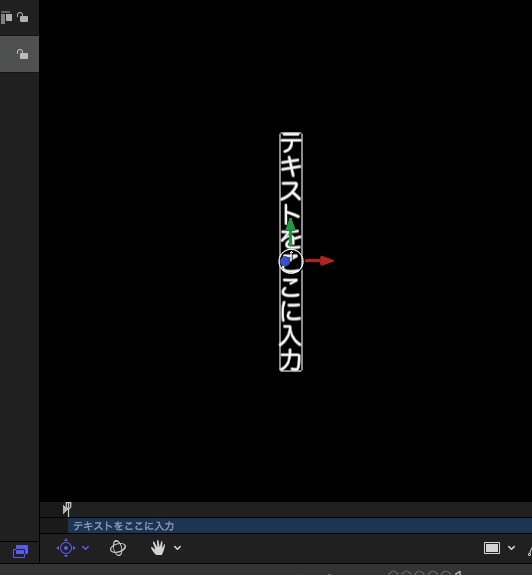
After selecting the anchor point, move it to the center of the text.
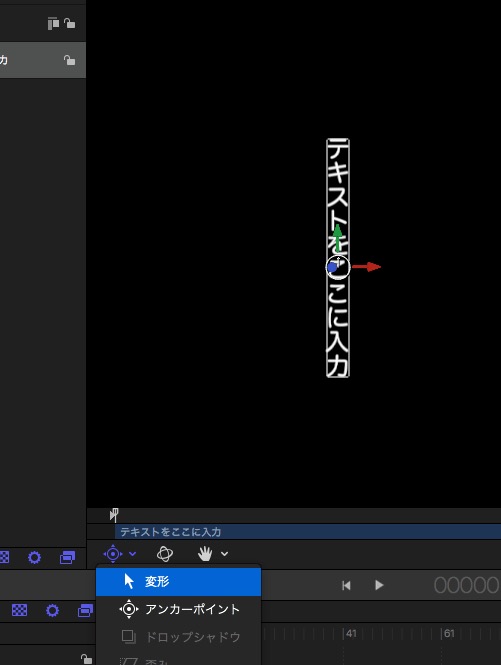
Once the anchor point is centered, switch to the transform tool. This makes moving the text much easier than before.
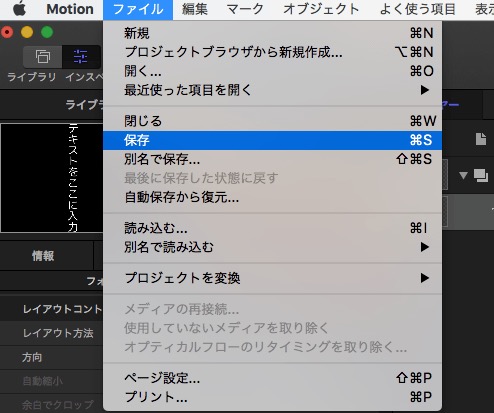
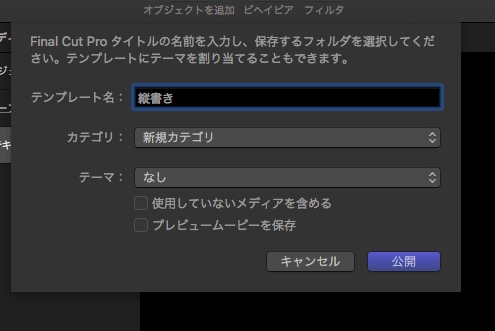
Finally, all that’s left is to save the template. Select Save from the File menu and publish it.
Applying the Vertical Text Template to FinalCutPro
Launch FinalCutPro.
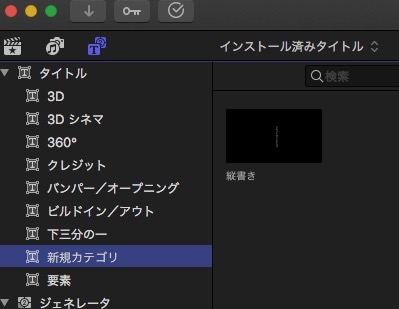
The vertical text template we just created will be in a new category. Select it.
Now, you can edit the text as usual, and it will be displayed vertically.