Setting Up a Custom Domain for Heroku Using Route53 and CloudFront
What you’ll need:
- A Heroku app (already created)
- A Domain from Route53 (already acquired)
- CloudFront
- AWS Certificate Manager
Connecting Heroku App with a Custom Domain on Route53 (AWS)
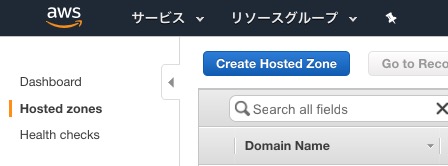
From the Dashboard, navigate to Hosted Zones and select Create Hosted Zone.
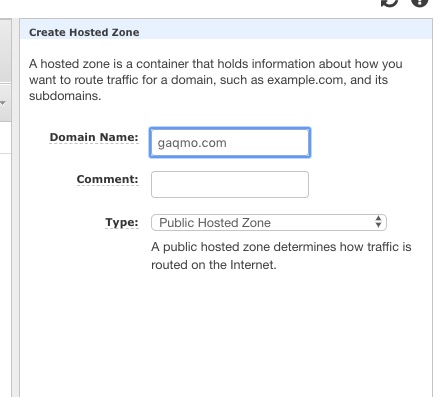
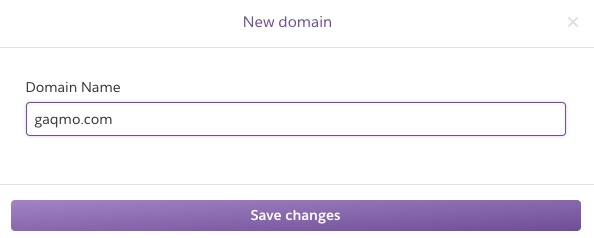
Enter your Route53 domain name in the Domain Name field and create it.
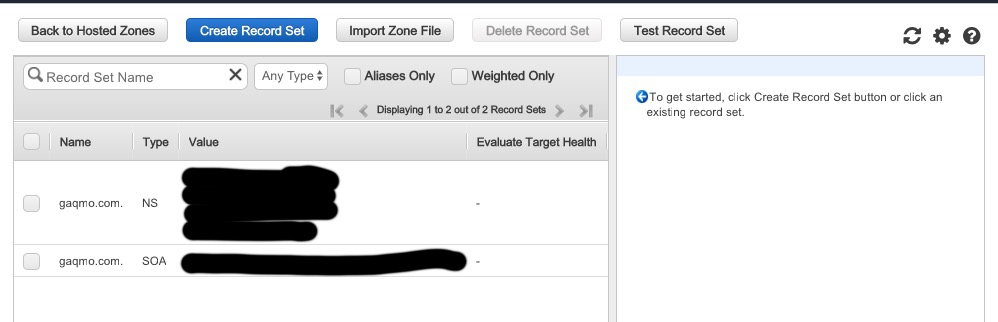
Next, select Create Record Set. Enter the following information and create the record:
- For Name, enter www
- For Type, select CNAME
- For Value, enter your Heroku app name (e.g., sampleapp.herokuapp.com)
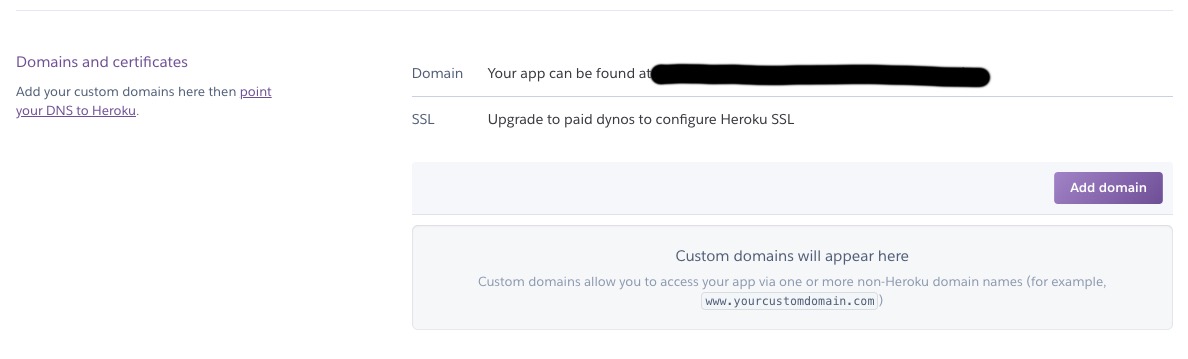
You can check your Heroku app name from the Heroku settings screen.
Connecting Heroku App with a Custom Domain on Route53 (Heroku)
You can configure this via terminal or through the Heroku console screen.
Select Add domain and simply set the domain you configured in Route53.
After setting up domains both with and without www, it should look like this:

Issue a Free SSL Certificate Using ACM
There are two verification methods: email and DNS. Since we’re using Route53 for our domain, DNS verification is recommended, though it may take up to 30 minutes or more for AWS to verify the domain and issue the certificate.
If Using Email Verification
From the AWS console, select Certificate Manager.
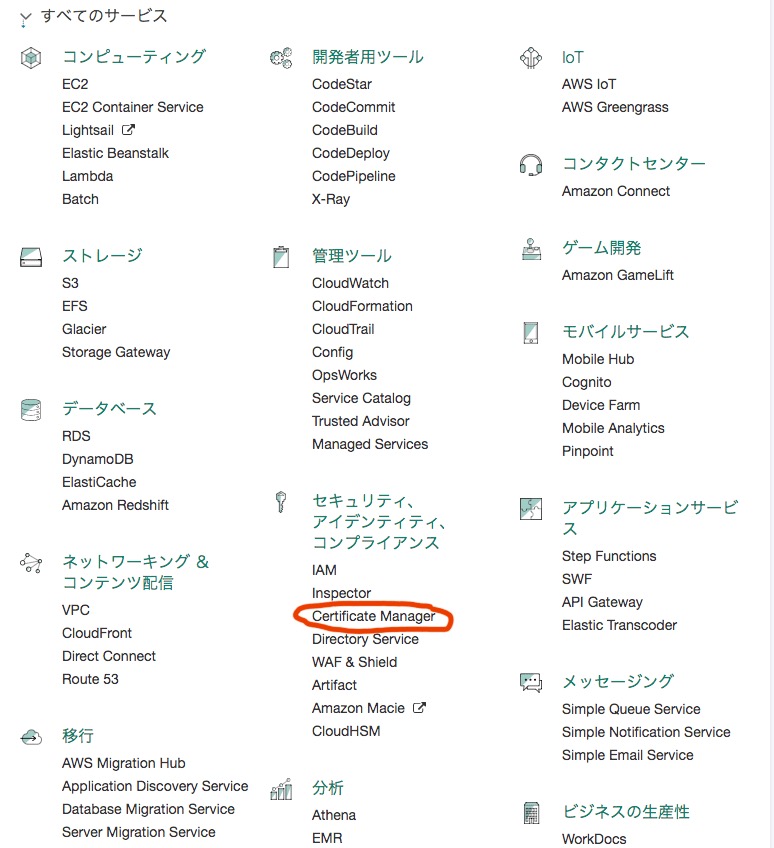
Important note: Make sure the region is set to US East (N. Virginia) (as of October 2017). If you get this wrong, the subsequent steps won’t work properly.

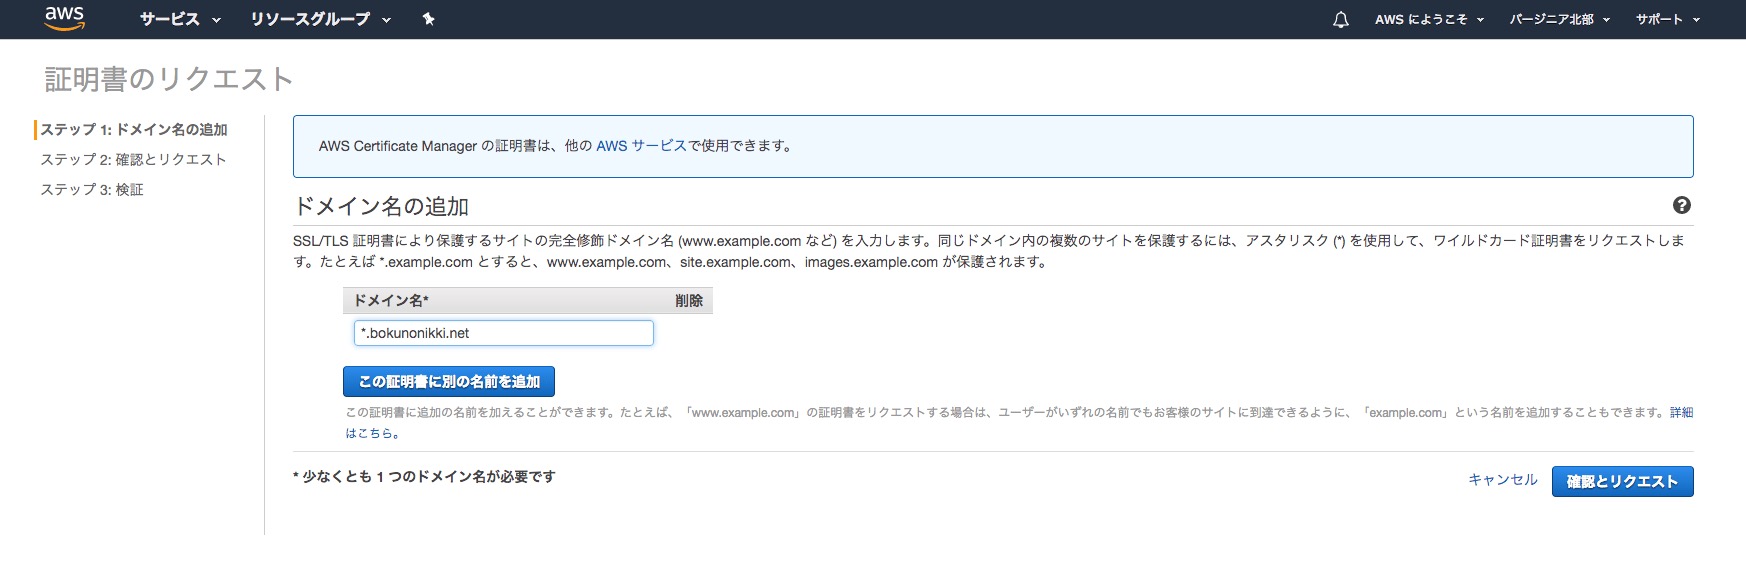
Next, select Request a certificate.
After entering your domain, select Review and Request.
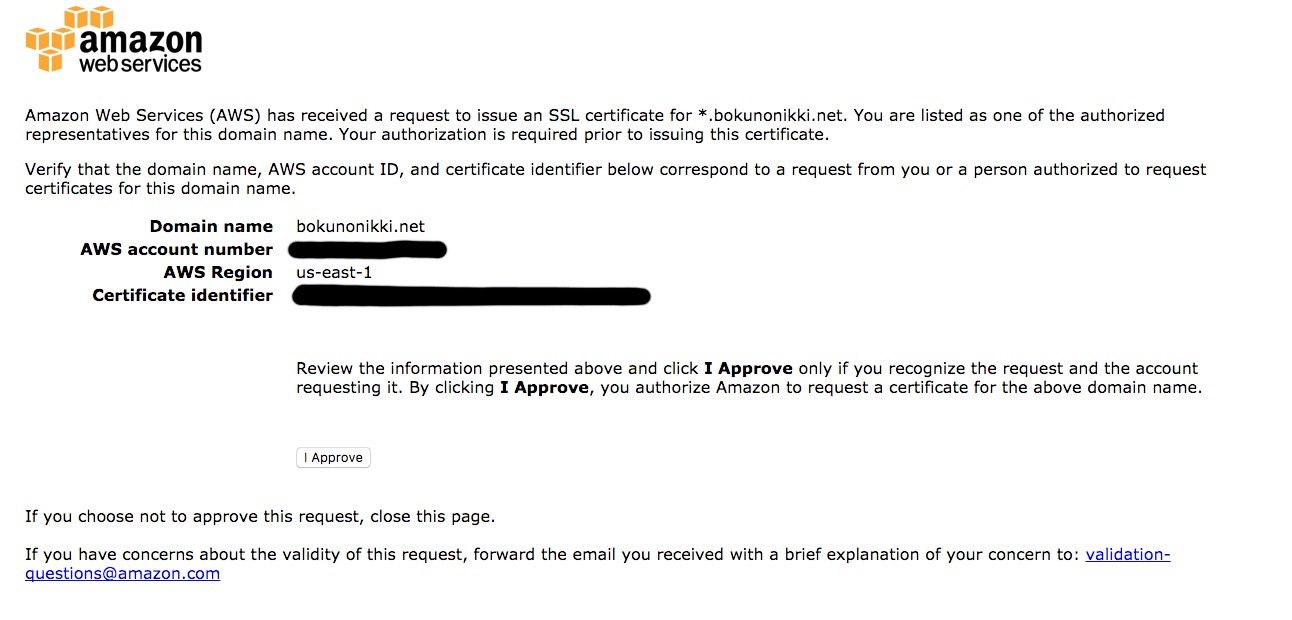
Shortly after, you’ll receive a domain verification email from AWS.
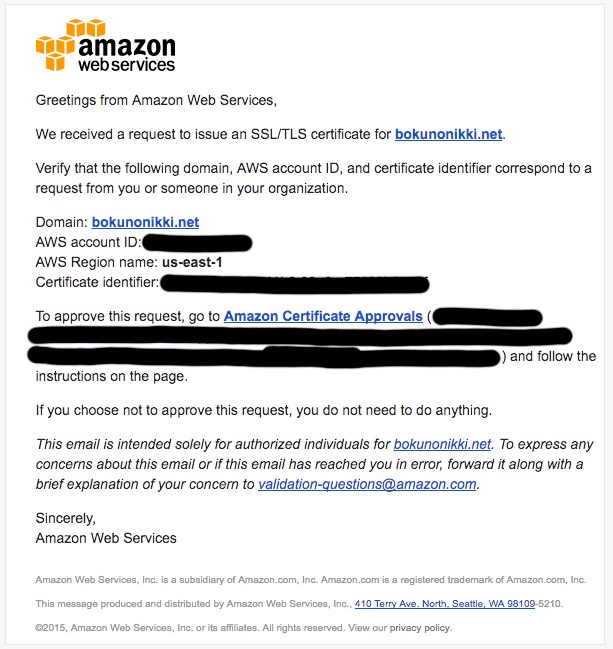
Approve it by clicking “I Approve”.
Upon approval, you’ll see a Success! message.
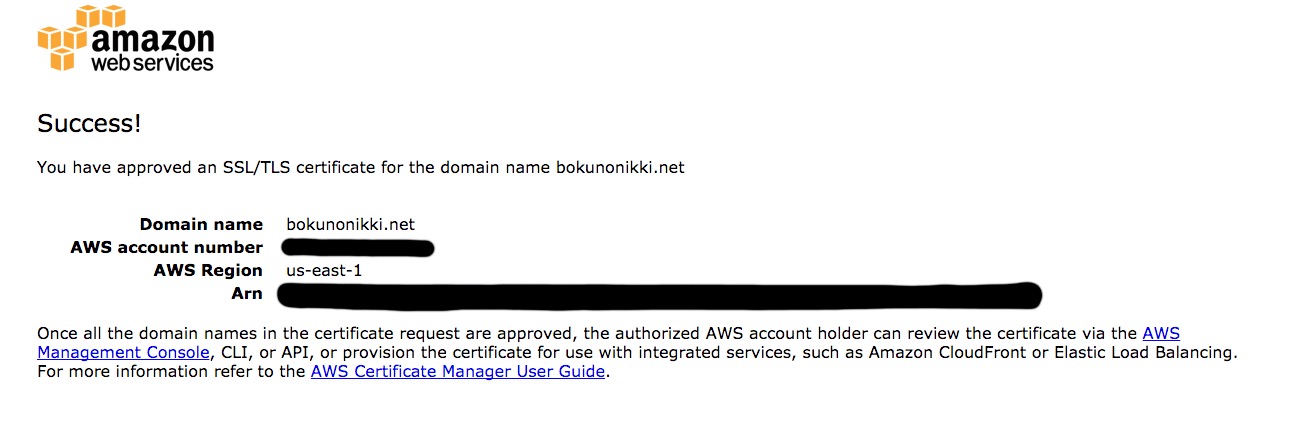
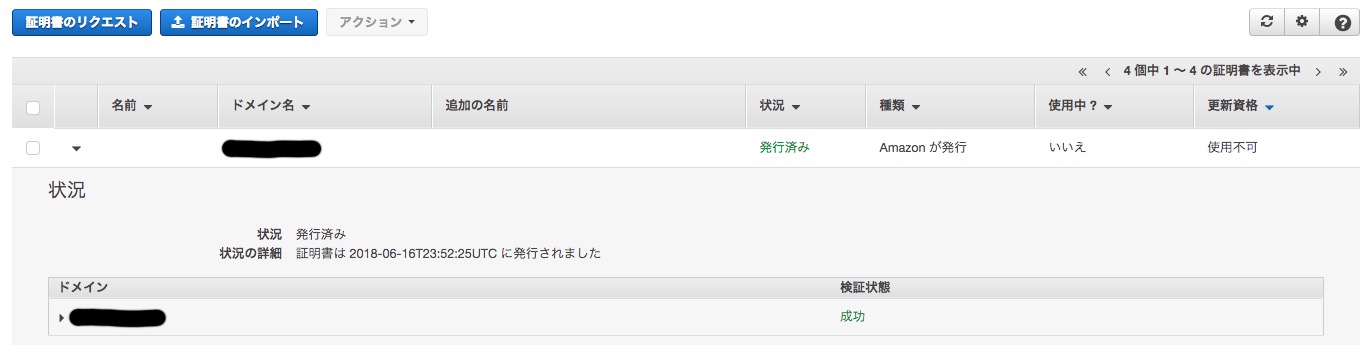
If all steps are successful, the status should change to “Issued”. This completes the process of issuing a free SSL certificate using ACM.

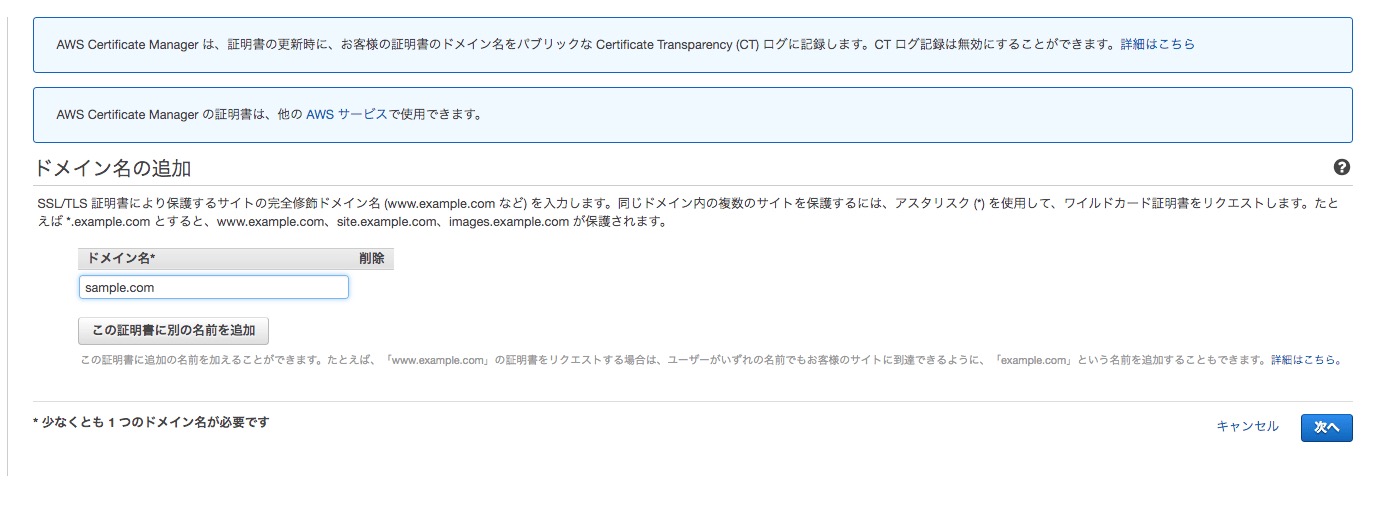
If Using DNS Verification
Enter the domain name:
Select DNS validation:
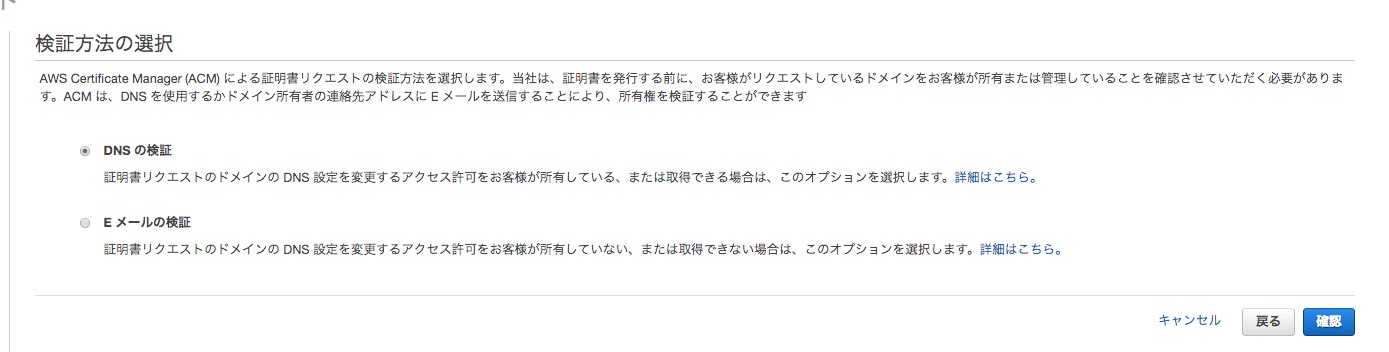
Since this blog’s domain uses Route53, select “Create record in Route53”. It will succeed after a short while.
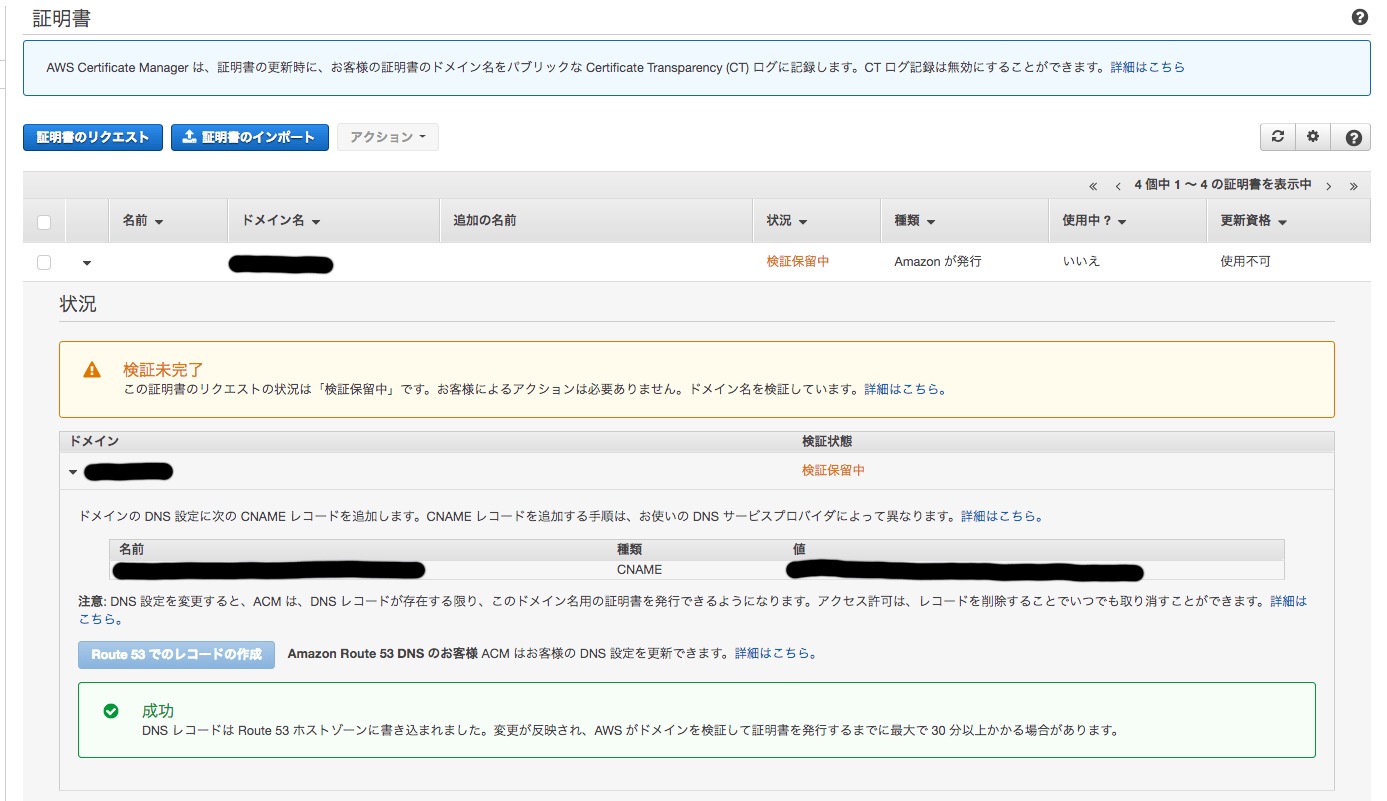
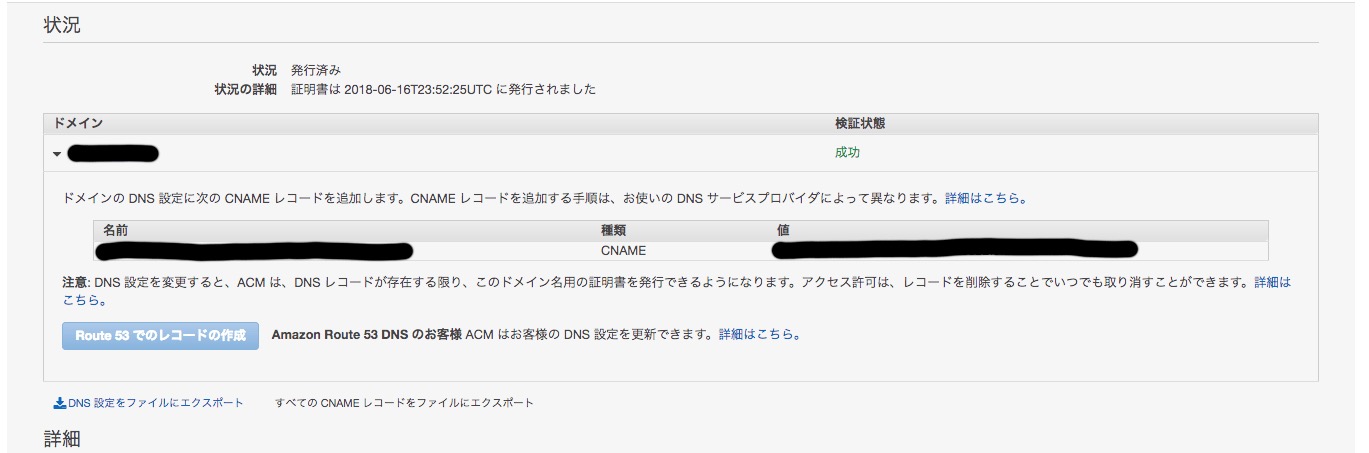
It should look like this:
Success!
CloudFront Configuration
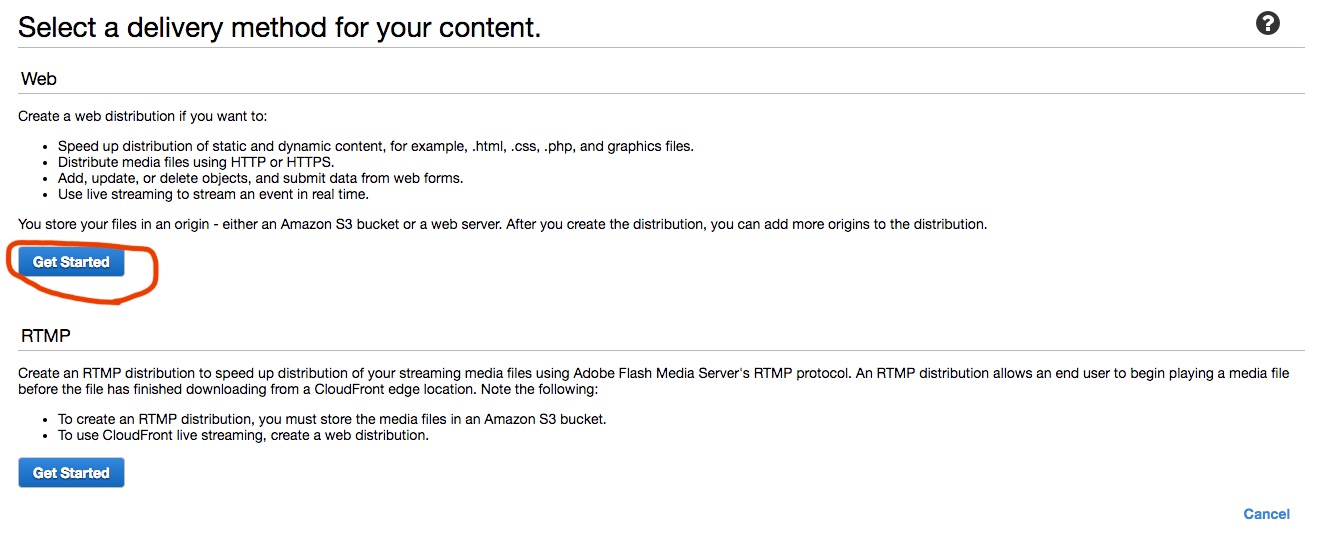
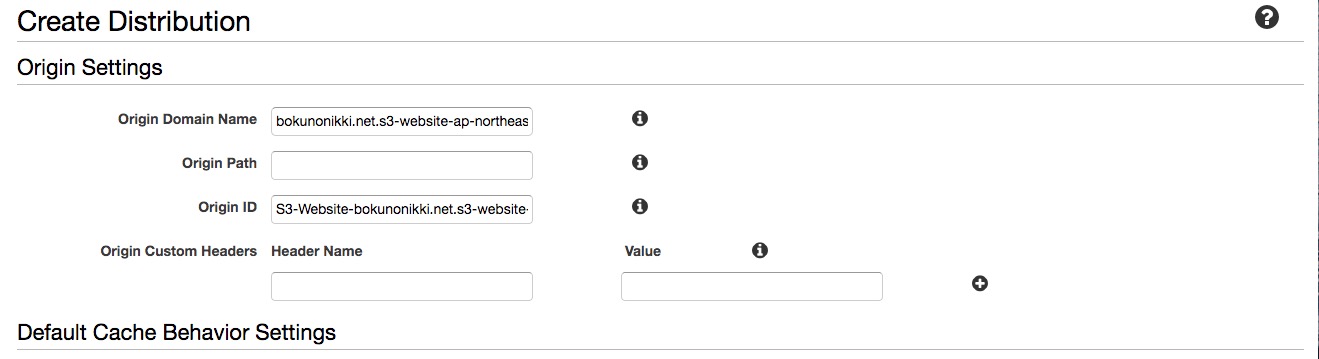
Select Create Distribution.

Select Get Started under the Web section.
In the Origin Domain Name field, enter your Heroku domain name:
sample123456.herokuapp.com/
It should look like this:
Next, select “Custom SSL Certificate” and specify the server certificate you created earlier.
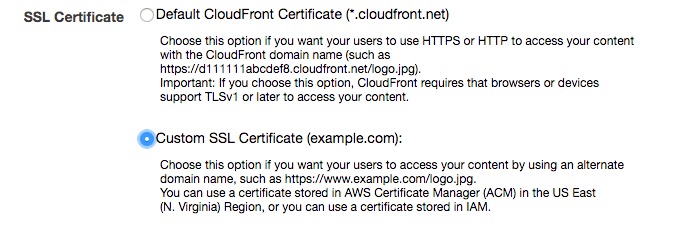
Be sure to enter your domain in the Alternate Domain Names (CNAMEs) field.

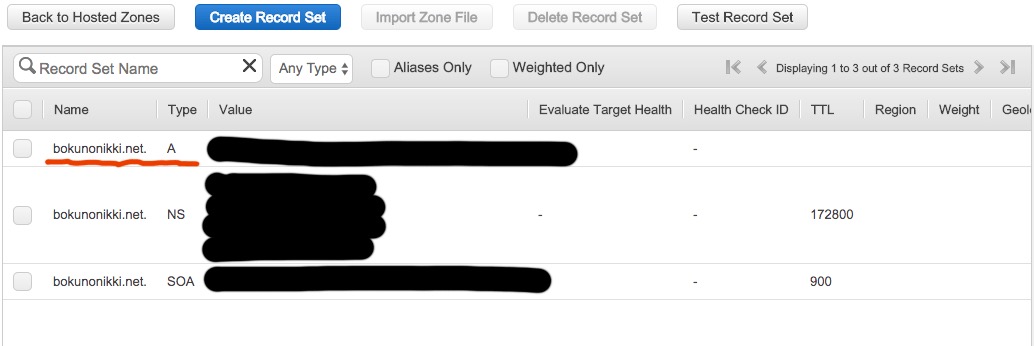
Route53 Configuration
Change the ALIAS to point to CloudFront.
If the CloudFront setup is complete, it should appear in the Alias Target dropdown - select it.
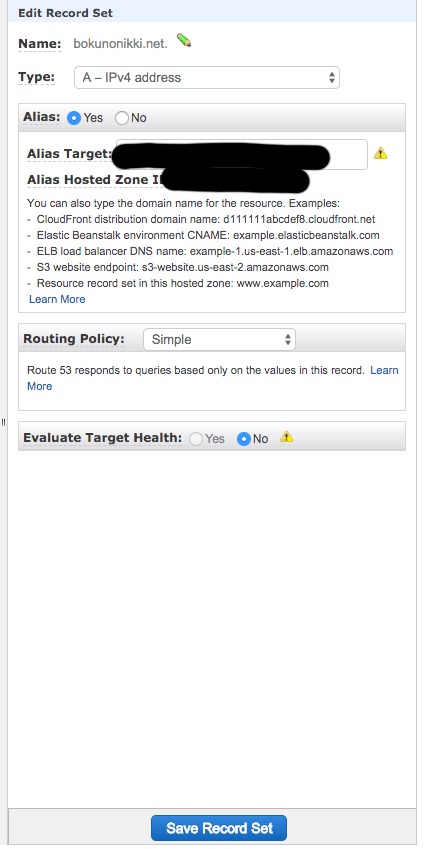
And that’s it!