AWSのCodeCommitを使う
このブログはBitbucketとAWSのS3,Route53,CloudFrontを使って運用していましたが、gitの管理もBitbucketからAWSのCodeCommitに替えて全てのツールをAWSに統一することにしました。
その時の手順をメモしておきます。
git remoteの確認
git remote -vでremoteの確認をします。Bitbucketですね。これをAWSのCodeCommitに変更します。
$ git remote -v
origin	[email protected]:boku/blog.git (fetch)
origin	[email protected]:boku/blog.git (push)
CodeCommitのリポジトリを作成
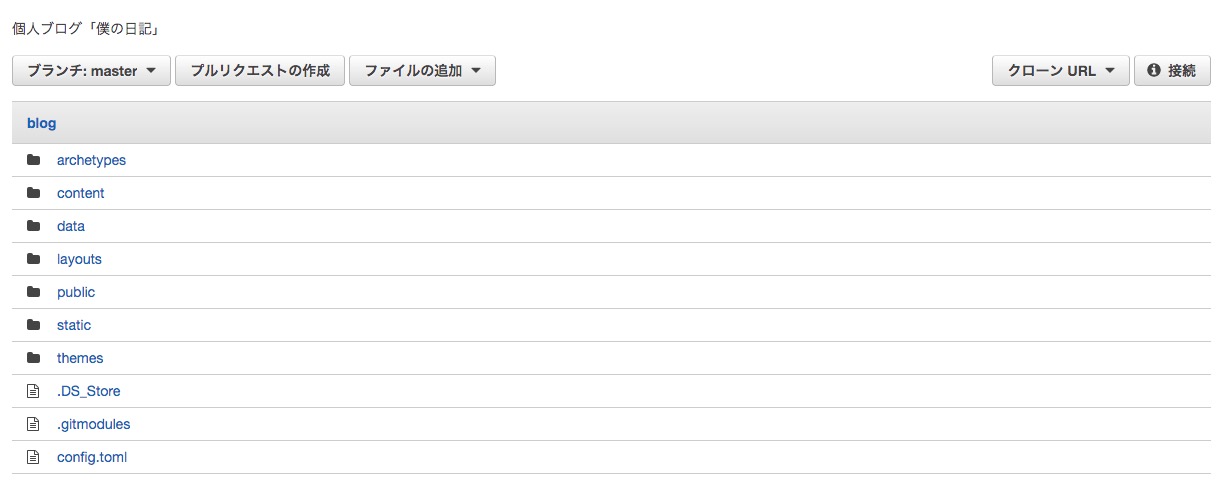
コンソールからCodeCommitを選択し、リポジトリを作成します。
「リポジトリに接続する」では、SSH接続を選択します。SSHはrootユーザーではできないので、IAMユーザーを作成します。
やり方は、AWSのIAMユーザーを新規作成に書いています。
SSH接続
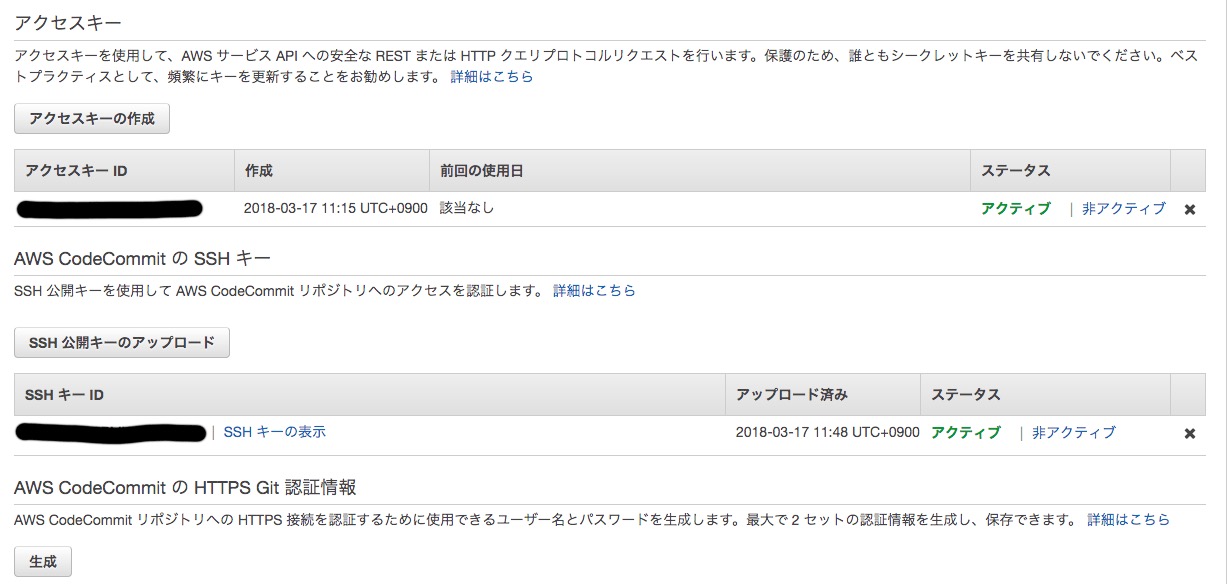
IAMユーザーから認証情報を選択。「SSH公開キーのアップロード」をクリック。公開鍵を貼り付けます。

公開鍵を作成していない場合は、Bitbucket、公開鍵・暗号鍵を設定するを参考してください。
SSH公開キーのアップロードが完了するとSSHキーIDが作成されます。
このSSHキーIDをuserに貼り付けます。
$ vim ~/.ssh/config
Host git-codecommit.*.amazonaws.com
  User APKAEIBAERJR2EXAMPLE ← SSHキーID
  IdentityFile ~/.ssh/codecommit_rsa ← プライベートキーへのパス
これでSSH接続完了です。
次にきちんと接続できているか確認します。
途中でAre you sure you want to continue connecting (yes/no)?と聞かれますので、yesと答えます。
きちんと接続できていたらYou have successfully authenticated over SSH.と表示されます。
$ ssh git-codecommit.us-east-1.amazonaws.com
You have successfully authenticated over SSH. You can use Git to interact with AWS CodeCommit. Interactive shells are not supported.Connection to git-codecommit.us-east-1.amazonaws.com closed by remote host.
Connection to git-codecommit.us-east-1.amazonaws.com closed.
ちゃんとCodeCommitに接続されていましたので、今度は、git remote set-url originを使ってgitのpush先をCodeCommitに変更します。
リポジトリのクローンURLを選択し、SSHを以下のように貼り付けます。

$ git remote set-url origin ssh://git-codecommit.us-east-1.amazonaws.com
きちんと変更できたか確認します。
$ git remote -v
origin	ssh://git-codecommit.us-east-1.amazonaws.com/ (fetch)
origin	ssh://git-codecommit.us-east-1.amazonaws.com/ (push)
きちんと変更できていたので、試しにpushします。
$ git push
できました。
